In addition to developing eLearning projects for various clients, I occasionally conduct training courses and workshops for Storyline. One of my clients asked me to run a 1-day workshop that, after a brief overview of Storyline 2’s new features, focused on the type of eLearning courses they build most often: Software simulations for their ERP system. In the initial discussion about which topics should be covered in the workshop, the client also mentioned they have doubts Storyline 2 could be used to build complex software simulations that go way beyond the usual, linear Step-by-Step demoes and exercises.
So I thought I’d start the session by showing off the new Storyline 2 UI, including the various tabs and some selected new features. At the end of this demo, I casually mentioned that “Oh and by the way, what I just showed you was NOT the actual Storyline application, but a SIMULATION of the application”. That got everyone’s attention and right from the beginning removed any doubts that Storyline can be used to develop complex simulations.
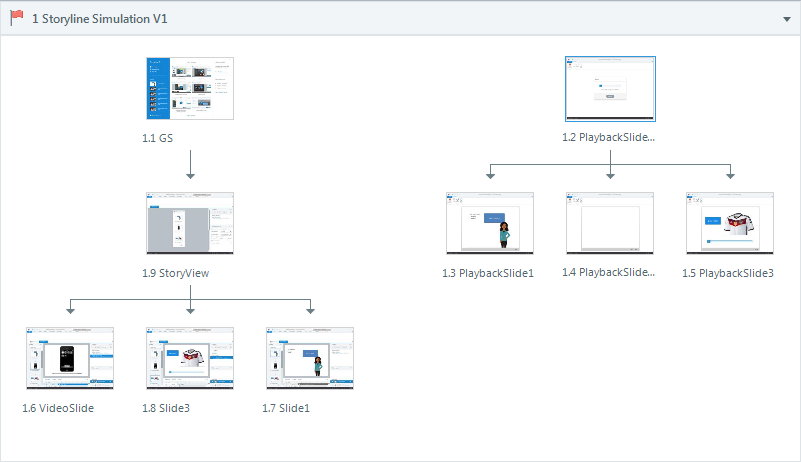
Here is an early version of the simulation that I used to work out the overall navigation scheme and confirm the setup for tabbed navigation, disabling/enabling menu items, slide view, story view, preview, etc.

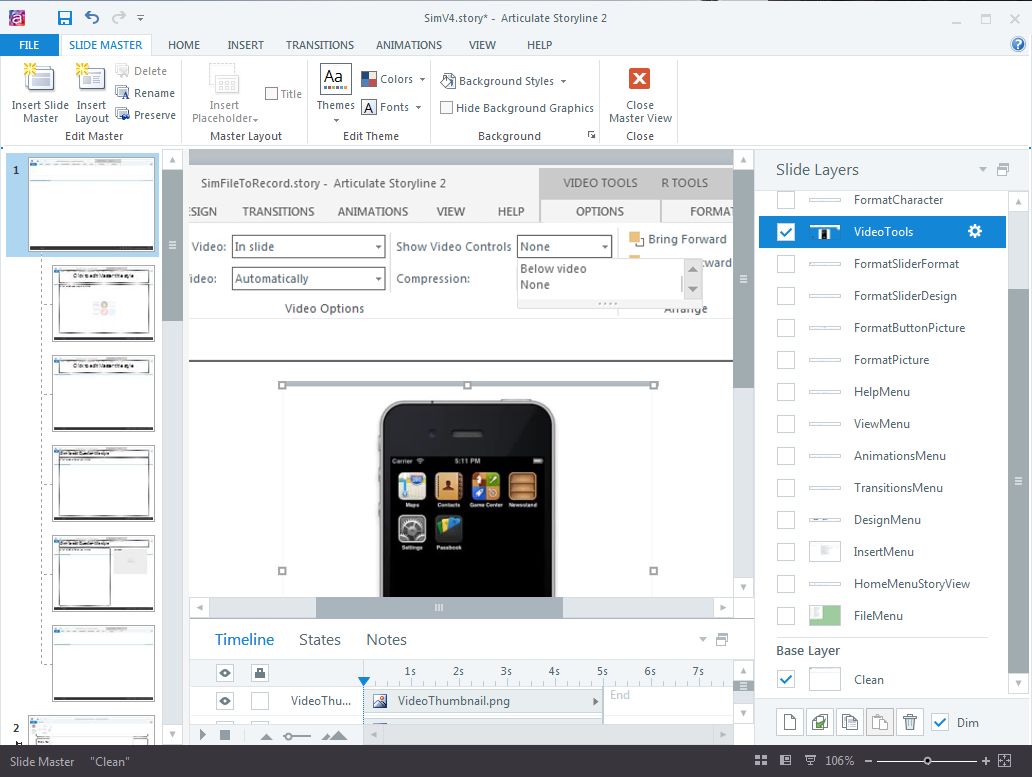
The various tabs, and tab-specific triggers are all set up on layers of the master slide. There are two master slides; one for story view/slide view and the other for the Preview slides.

This initial version was really only my first attempt and is still a bit buggy, but it already lets you:
- Select SimFileToRecord from the opening screen (also, all the tutorial links on this screen are enabled)
- Navigate between slides in StoryView
- Double-click on a slide thumbnail to go to SlideView
- Browse all tabs on the main toolbar
- Select/unselect objects on a slide and view the object-specific Format tab
- With slide 1.2 selected, go to Insert> Video > Video from File and select video_1
- In the VideoTools tab, select Video Controls (either select None or Below Video)
- Select Preview (either This Slide, This Scene or Entire Project). Preview can be selected from any tab.
- Navigate through slides in Preview
- Close Preview
- To restart (in case you get stuck), press q on your keyboard.
There are some neat little details already in this version. For example, if an object on a slide is selected, the object is highlighted in the timeline. In Preview, the video on slide 1.2 actually plays and shows controls based on the selection. On slide 1.3, the slider works. And once a video is added to slide 1.2, the slide’s thumbnail is updated to show the video with or without playback controls. In the completed simulation, all menu items on the Insert tab were functional. In the classroom, I ran this final version in Fullscreen mode on a 1024*768 projector. It completely filled the screen and looked like the real software. This type of simulation can be adapted to provide feedback for guided exercises, used as a demo/”ice breaker” tool (like I did during the workshop) or turned into scoreable ‘hands-on’ tests.
Software simulations – yet another great way to use Storyline!
Edit 06/2018: To just tie similar posts together, here is another post about software simulations. This sim was done in Storyline 360.
