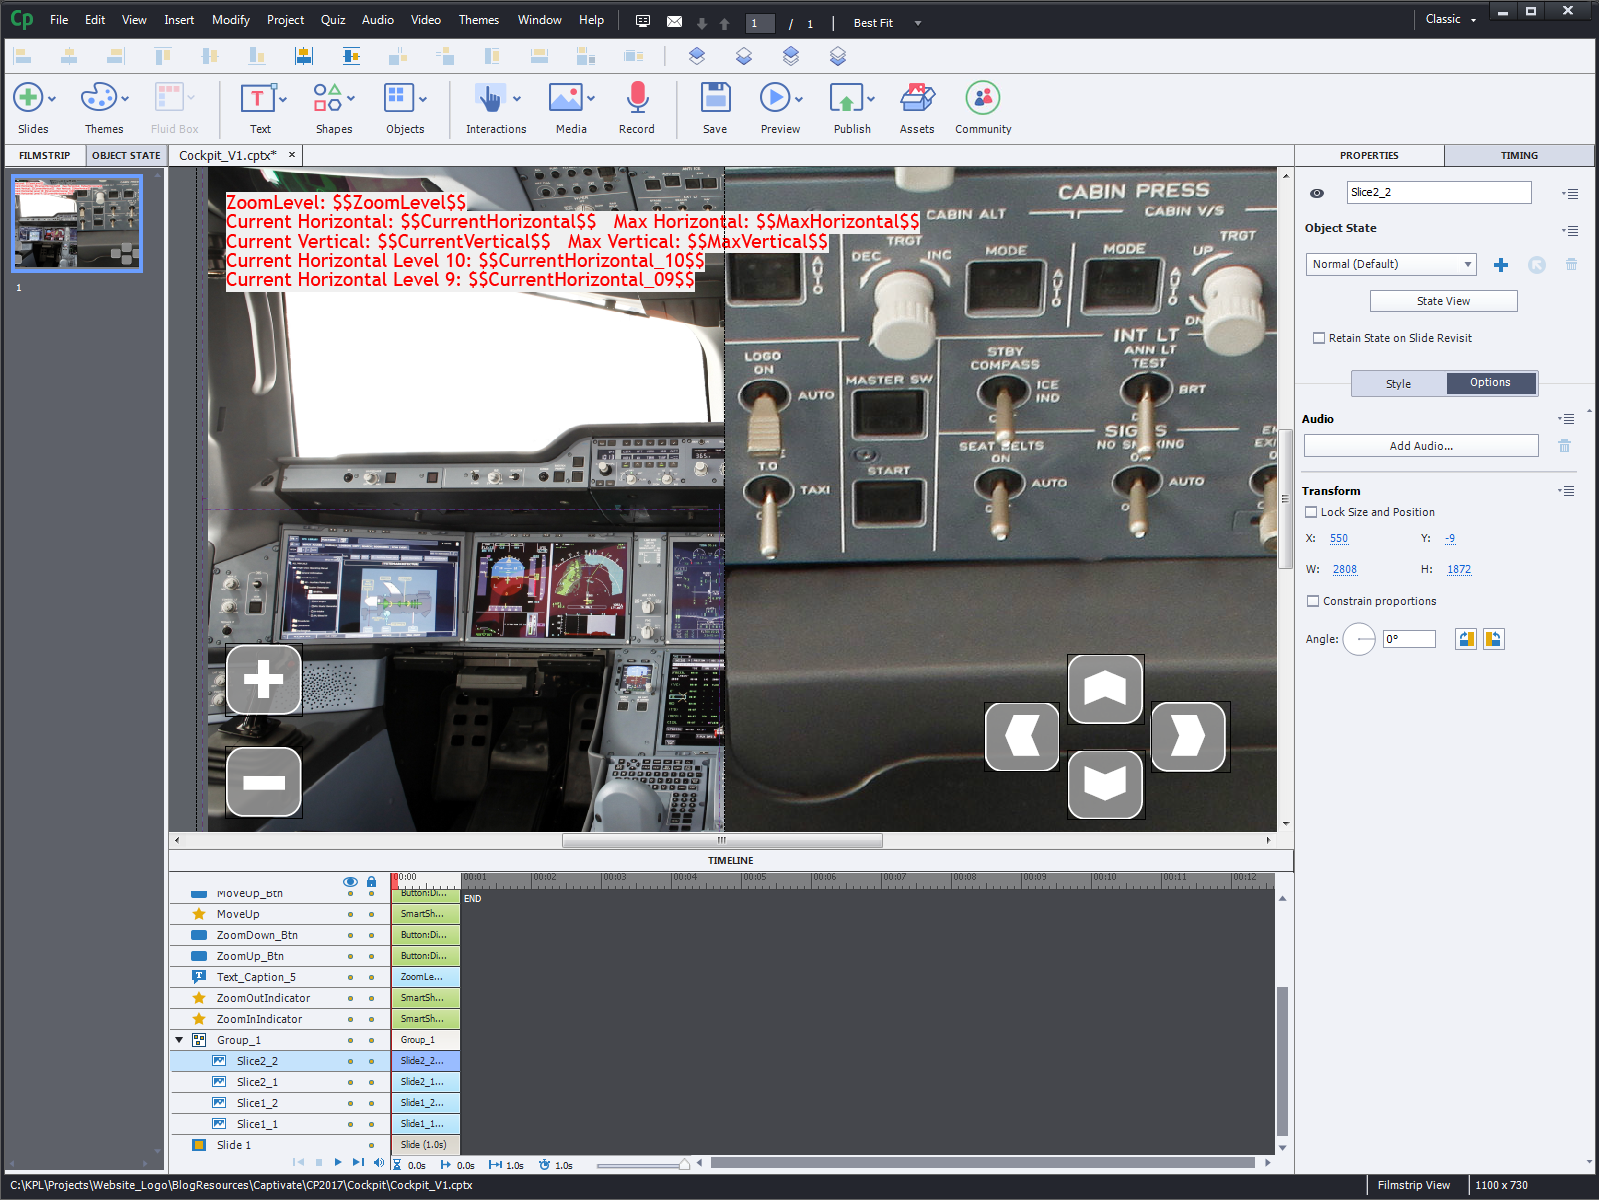
It’s been a while since I created complex interactions with Captivate. Now that I upgraded to Captivate 2017, I needed to refresh my memory about using Advanced Actions and custom effects. I also wanted to try out the new “While” option that was added to the Advanced Actions tool set. I’m not very good at reading through tutorial pages, so I decided to use an old Storyline project as my test case: Take an image that far exceeds the dimensions of a Captivate project file and then find ways to interactively zoom in/out and pan the image right/left/up/down. The image I chose is 5616 x 3744, and the project size is 1100 x 730. The first challenge was to overcome Captivate’s size limit for images (3200 x 3200). I ended up creating two images tiles, imported, resized and grouped them.

Then I added shapes and custom states for each of the buttons to zoom and pan. The Zoom effect was quite easy to set up. An Advanced Action assigned to the Zoom In button increases a custom variable and then applies a ScaleTo effect of 1.1 to increase the size of the image group. I limited the project to 10 zoom levels. The Zoom Out button does the reverse and applies a ScaleTo of 0.9 effect.
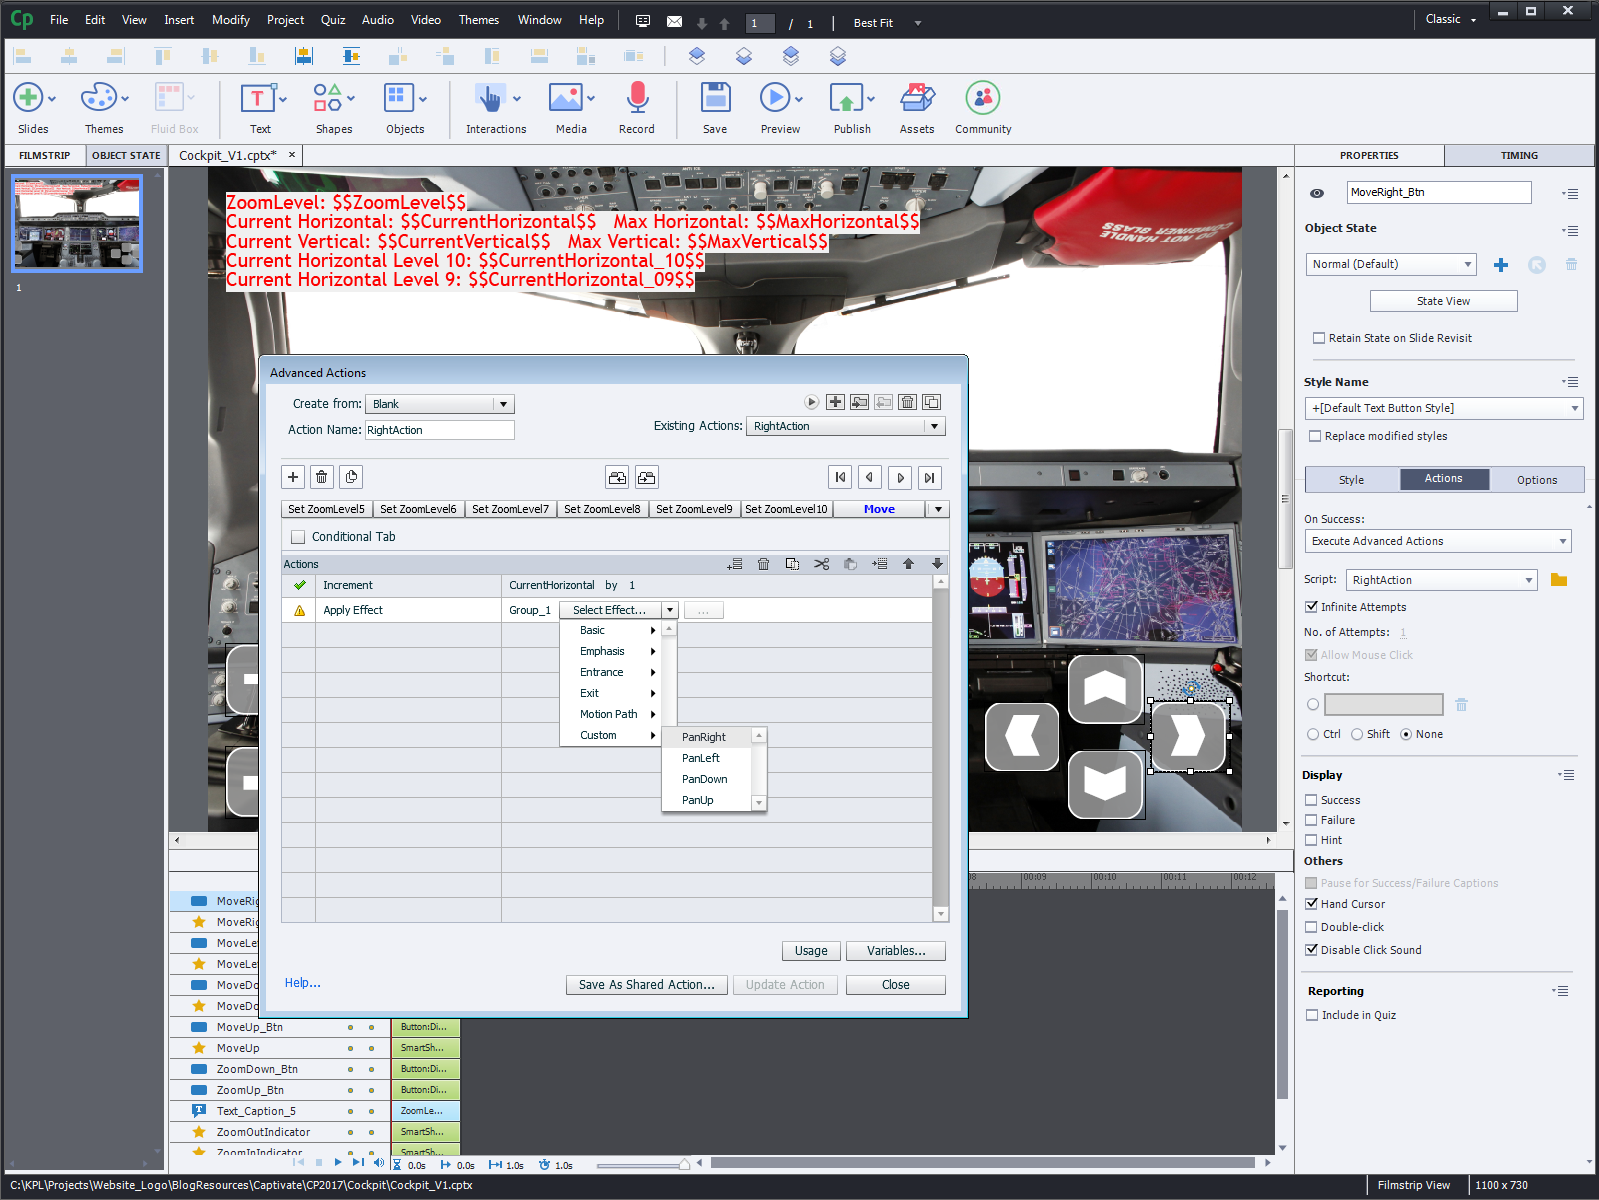
Creating the panning functionality turned out to be more complex. While you can apply an effect, like RightToLeft as part of an Advanced Action, there is no way to specify the exact path length. However, you can create a custom effect, e.g. a motion path of any length/direction. Once saved, these custom effects can then be selected from the Apply Effect dropdown list in an Advanced Action.

I set up four custom effects for panning the image group left/right and up/down. With a bit of math and fairly complex actions, I was able to interactively zoom in on the image and also pan around at each of the ten zoom levels.
That’s where I stopped my experiment. I could have expanded the actions to allow for zooming out no matter what panning position the image is in when the Zoom Out button is clicked. Currently, you can only zoom out if the image is centered, otherwise the Zoom Out button is disabled.
Creating this interaction in Captivate was much easier than to do it in Storyline. Because Storyline doesn’t have a library, I had to create to create several image tiles for each zoom level, import them into layers and then use a bunch of triggers to switch between layers. In Captivate I worked with ONE image group and a handful of Advanced Actions.
Here is the result of my “homework”.
