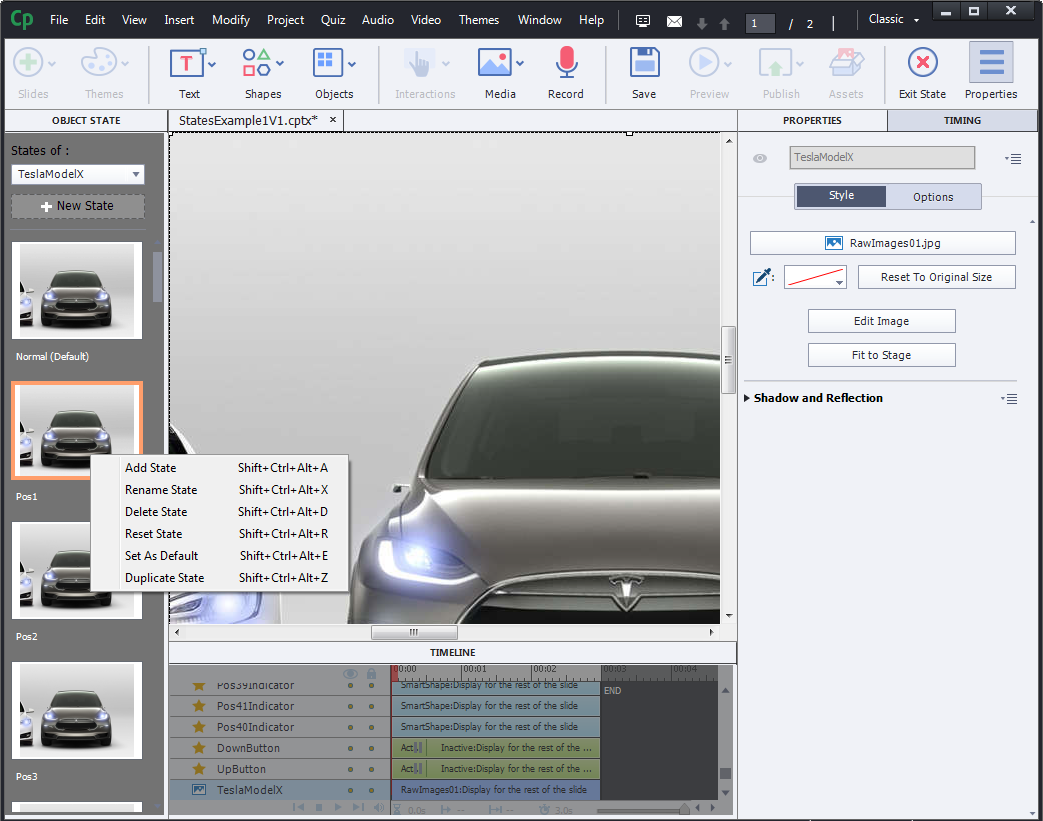
One of the many new features in Captivate 9 is the ability to additional states to objects. Usually objects have three states, Up, Rollover and Down. You can now add custom states to objects and then use the Change State action in advanced actions to display object states as needed. Here is some info on multi-state objects.
After downloading CP9, I thought I’d explore this new feature first and figure out the workflow. It’s very easy to use; in an object’s Property Panel, there is now a State View button that opens up a filmstrip-like window.

In this panel, you can manage the states of an object, add/delete states, add other objects or bitmaps to a state, etc. It’s very intuitive; once you understand the concept of states, it’s a snap to set up and use in simple or advanced actions.
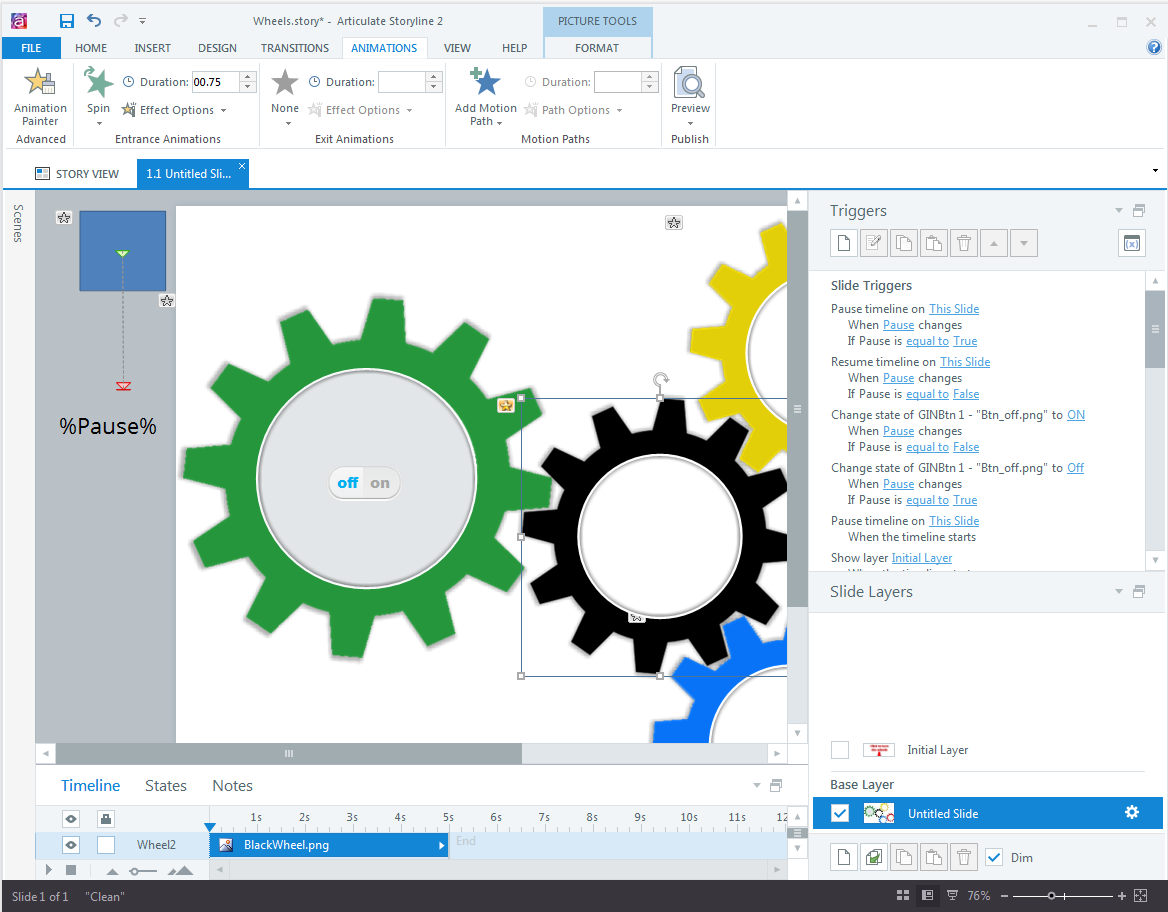
For my test project, I decided to work with an image set I had previously used to build a slider interaction in Articulate Storyline2.
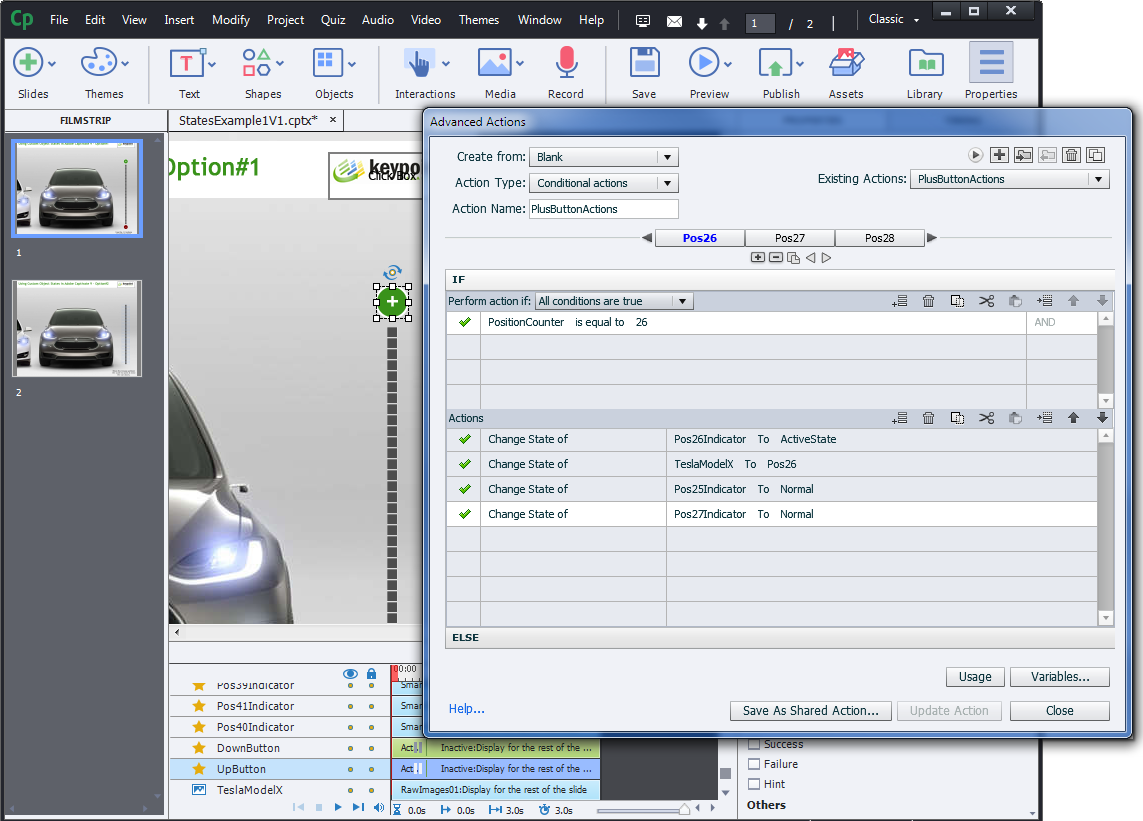
I wanted to explore two options for state changes: The first option uses up/down buttons to increase/decrease the value of a variable. Based on a that value, a particular state of an image object is displayed.

The second option is a variation of the first on and, instead of clickable buttons, allows the mouse to be used for state changes.
This great new feature opens up lots of possibilities for interactive elements, e.g sliders. Well done Captivate! I will keep experimenting with multi-state objects and use them from now on in new projects.
Here is my first attempt to use custom states in CP9.


