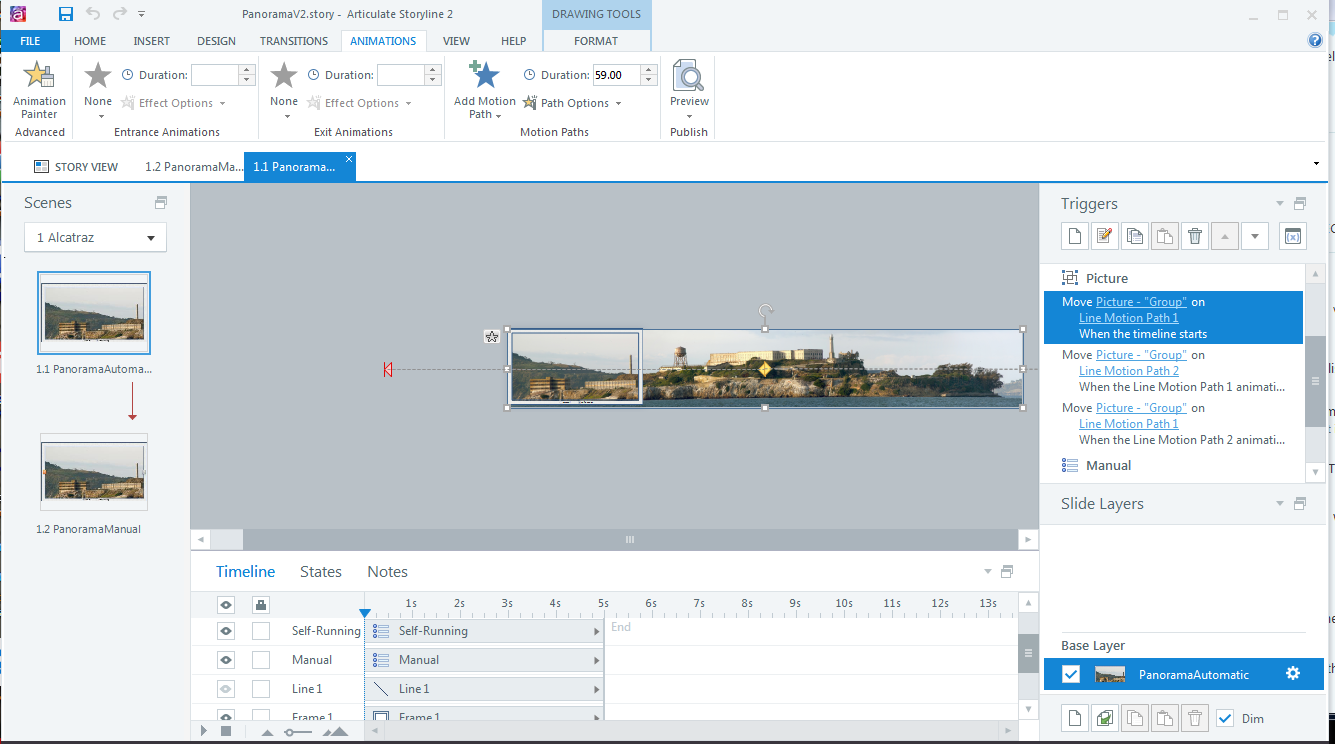
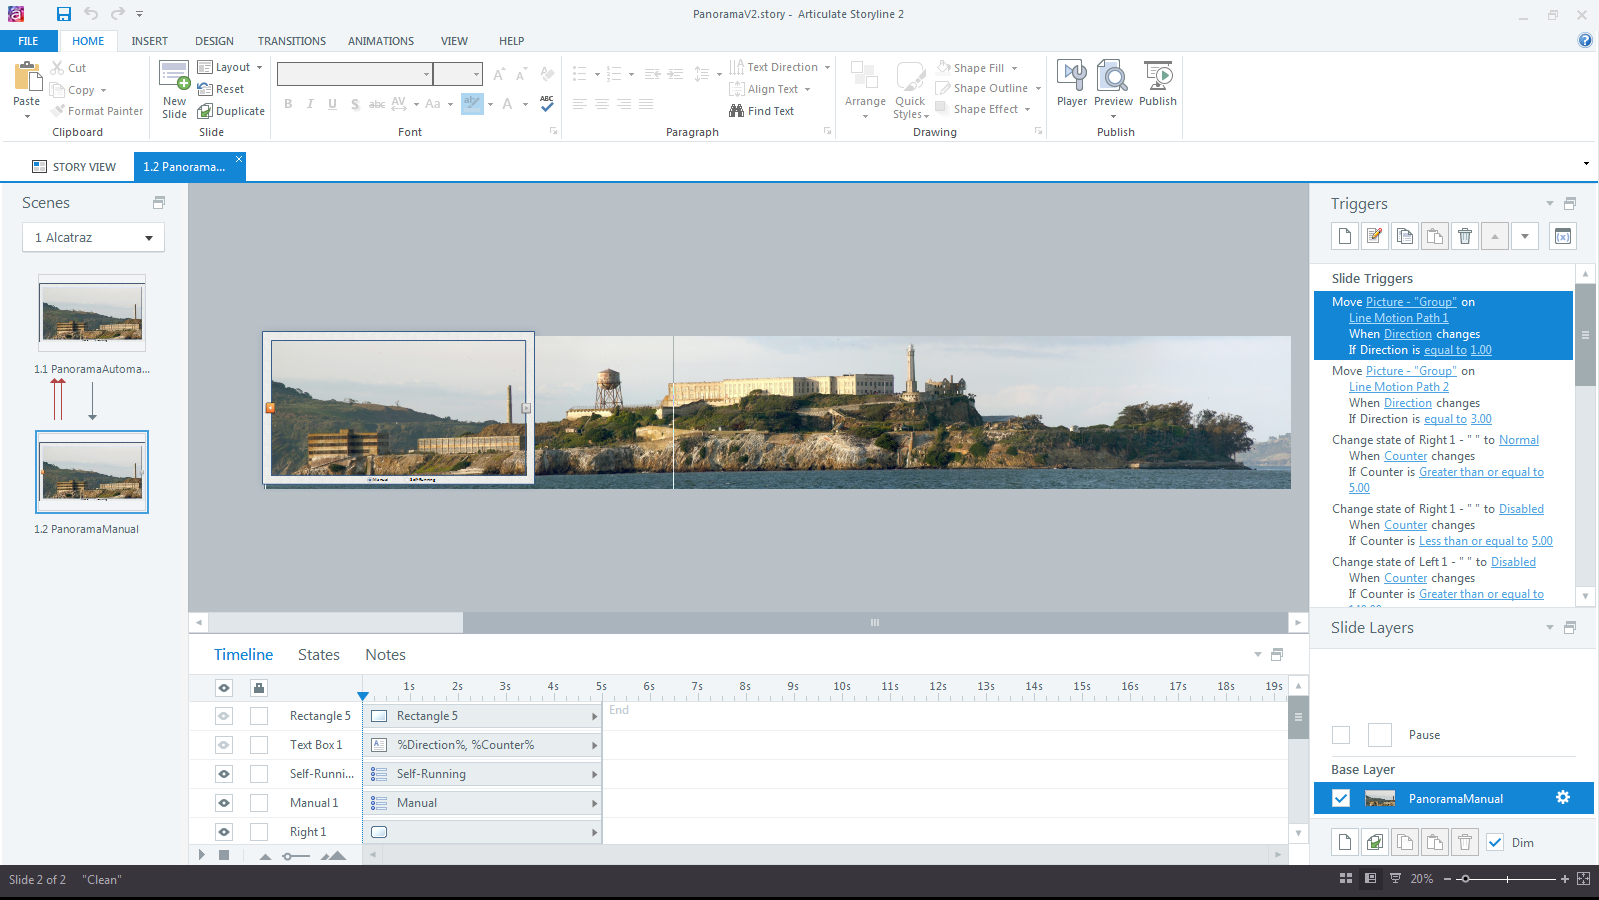
The other day, I had played around with looped motion paths animations on a panorama image. It occurred to me that I could use a similar technique to create loops to continuously count or make something blink on the screen WHILE OTHER ACTIONS HAPPEN, e.g. a video or audio file plays. Until now, I had always used layers to ‘loop’ from the baselayer to a layer (then ‘do something’ on the layer, e.g. increase a variable) and then return to the baselayer and start over again.
Here is my ‘new-and-improved’ way to loop…well, anything! on the same slide without the use of layer gymnastics:
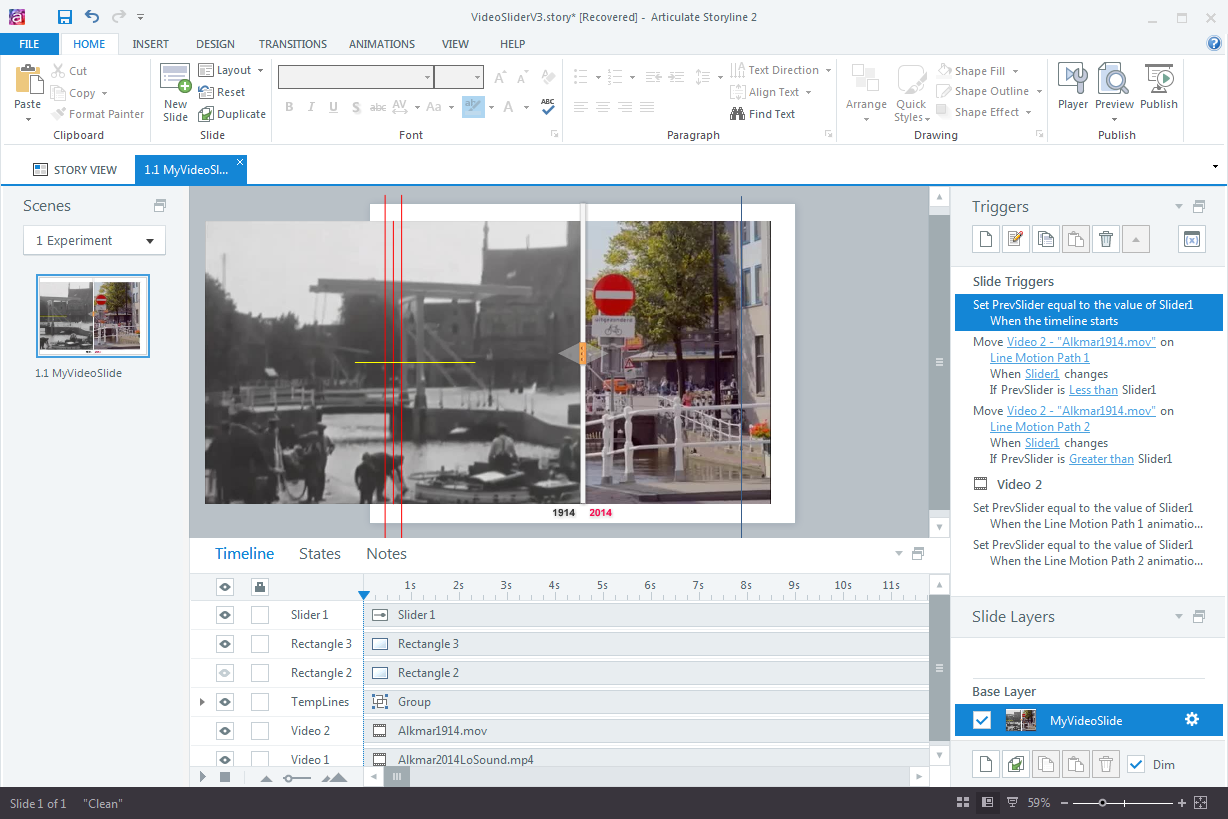
1. Insert a simple shape and put it offstage. This should be familiar to anyone with Storyline 1 experience, when we had to use offstage objects to trigger something on the timeline. In Storyline 2, you can now use triggers for that, but the concept is still valid and can be applied to creating loops.
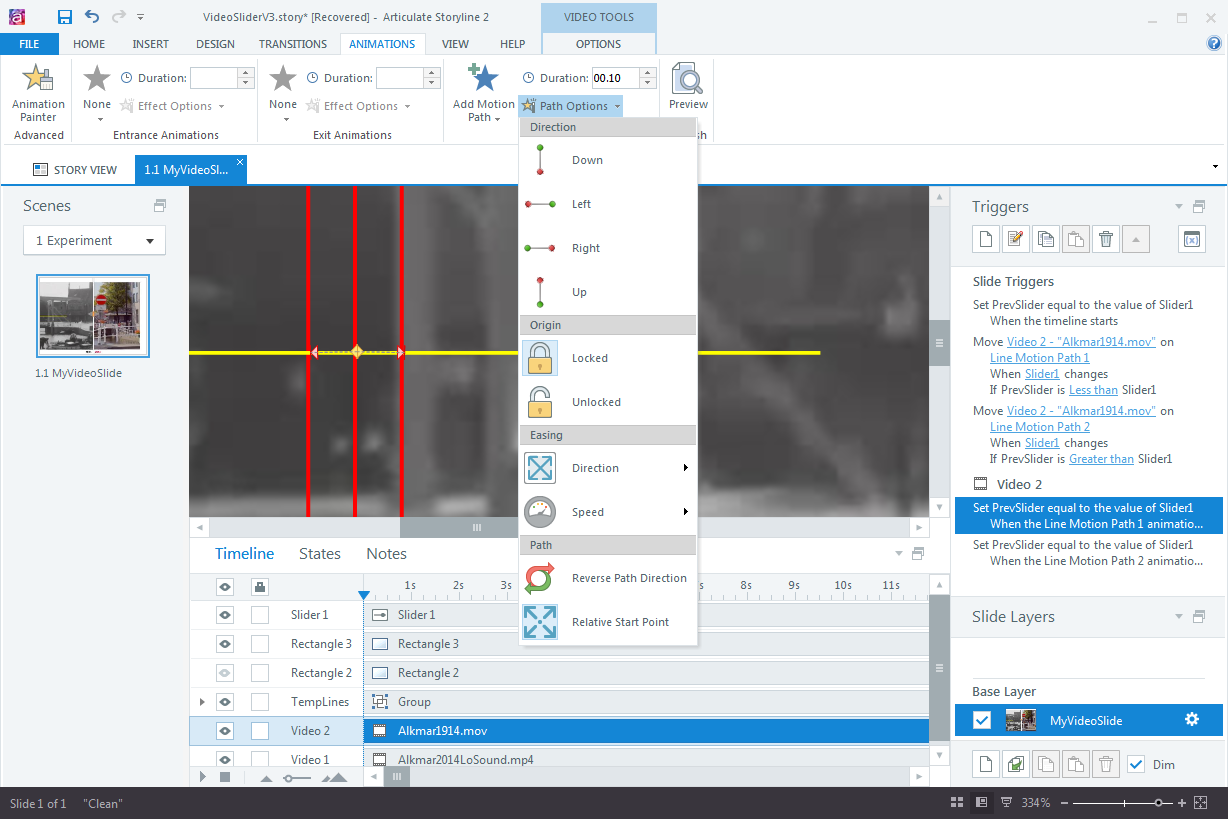
2. Add a motion path animation to the shape and specific the time. For example, if you want to create a clock, set the animation speed to 1 second to create a counter for the seconds.
3. Add ‘When Animation xyz completes’ trigger to continuously execute the animation.
4. Add trigger that executes whenever the animation completes to change the state of an object (e.g. to create a blinking effect), change a variable, or whatever else you need.
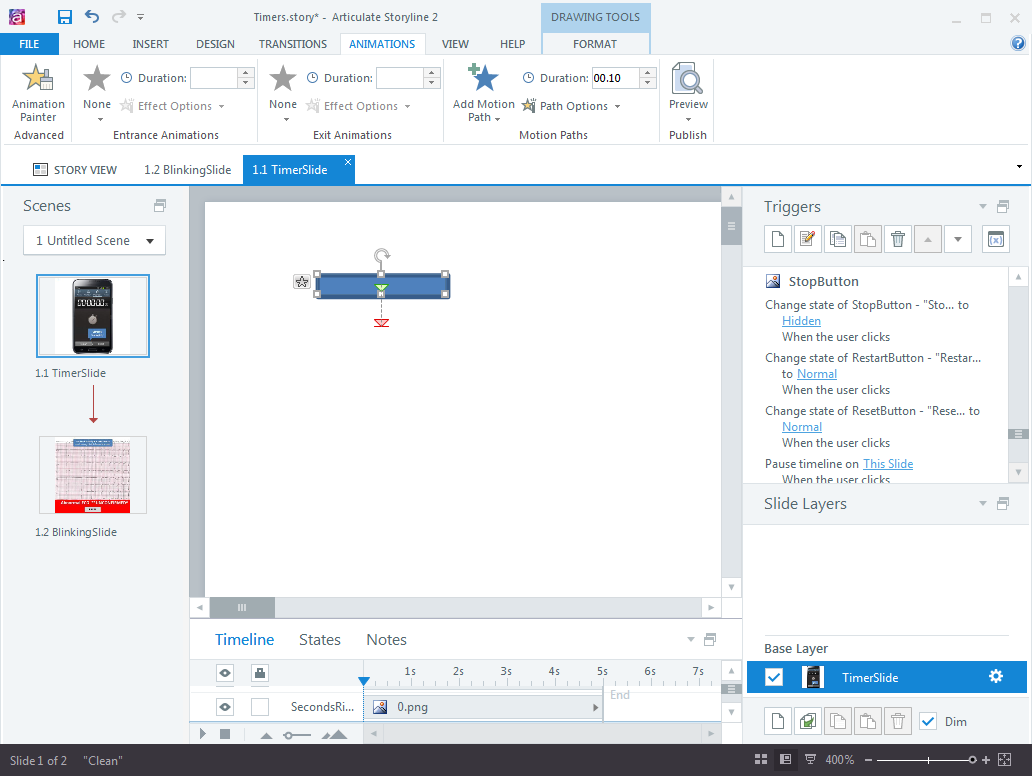
This technique simplifies the process of building timers, looping animations and much more. This could be used for device simulations (for example to simulate blinking LEDs), timed, cyclical interactions…the possibilities are endless. For example, you could make the Next button on the Player Bar flash. I still remember how tricky it was to build these clock examples in Storyline 1. Goodbye layers and Flash objects to create loops. Hello, offstage motion paths animations!
Here are a couple of examples.
Edit 10/2016: Here is the .story file for download.

