One of the new features in Storyline 2 is the addition of slider controls. It has always been possible to create slider interactions in Storyline (as shown here and here), using hotspots, drag object and LOTS of triggers. With the new slider controls in Storyline 2, this often time-consuming process has been greatly simplified. Now, creating sliders is as simple as 1-2-3.
1. Insert a slider control
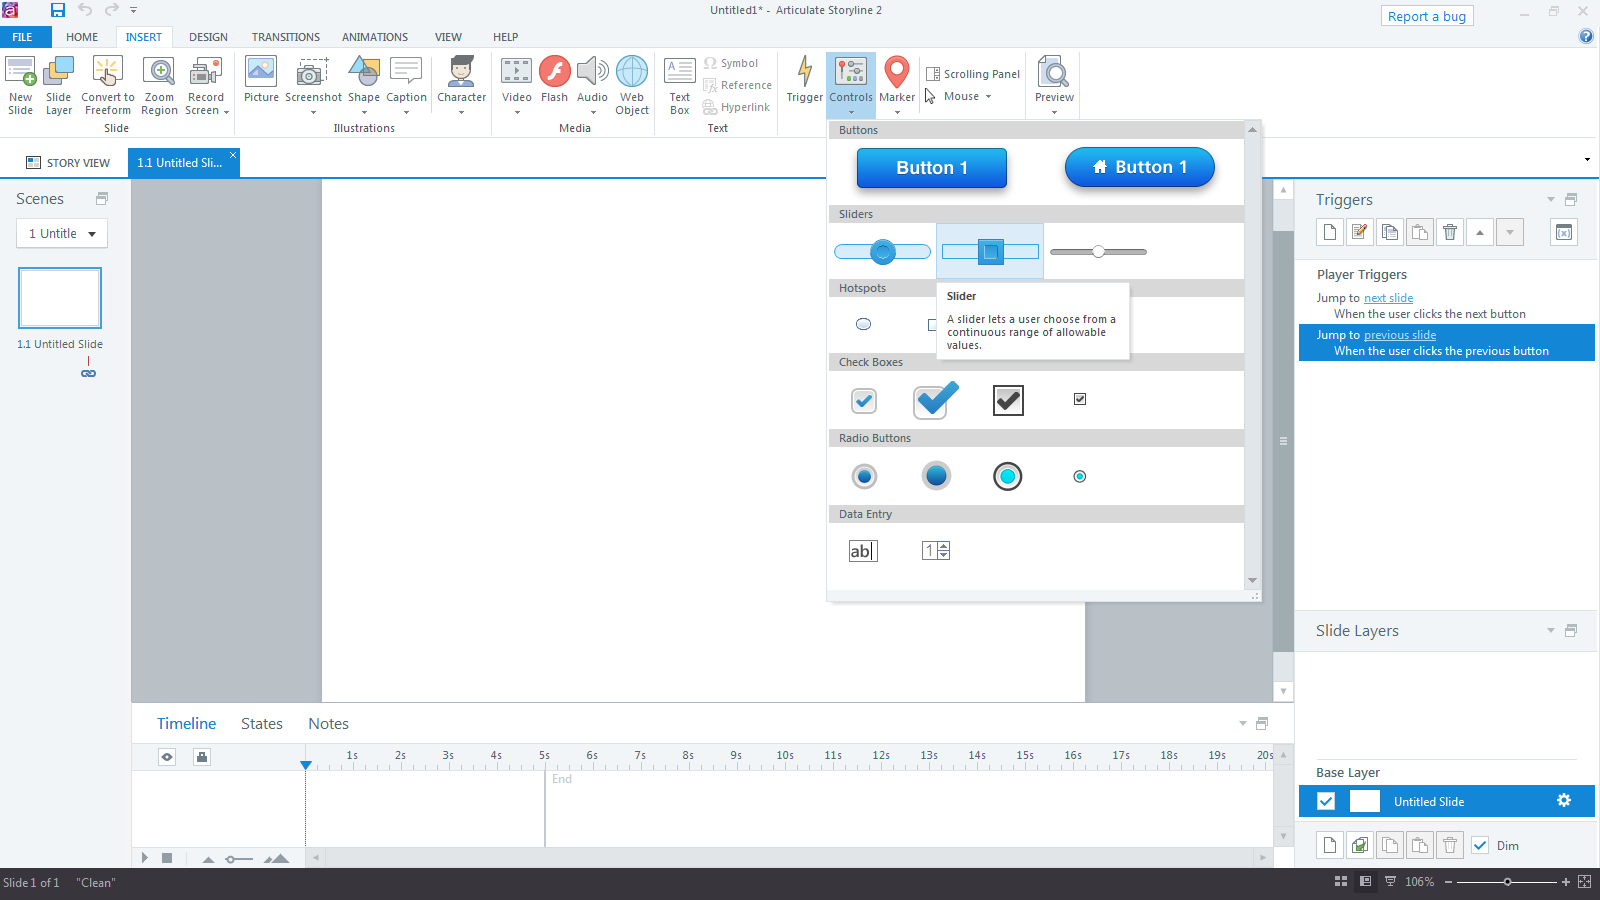
To add a slider to a Storyline project, select Insert >> Controls >> Slider

There are some standard styles available, which can be customized to look as required.
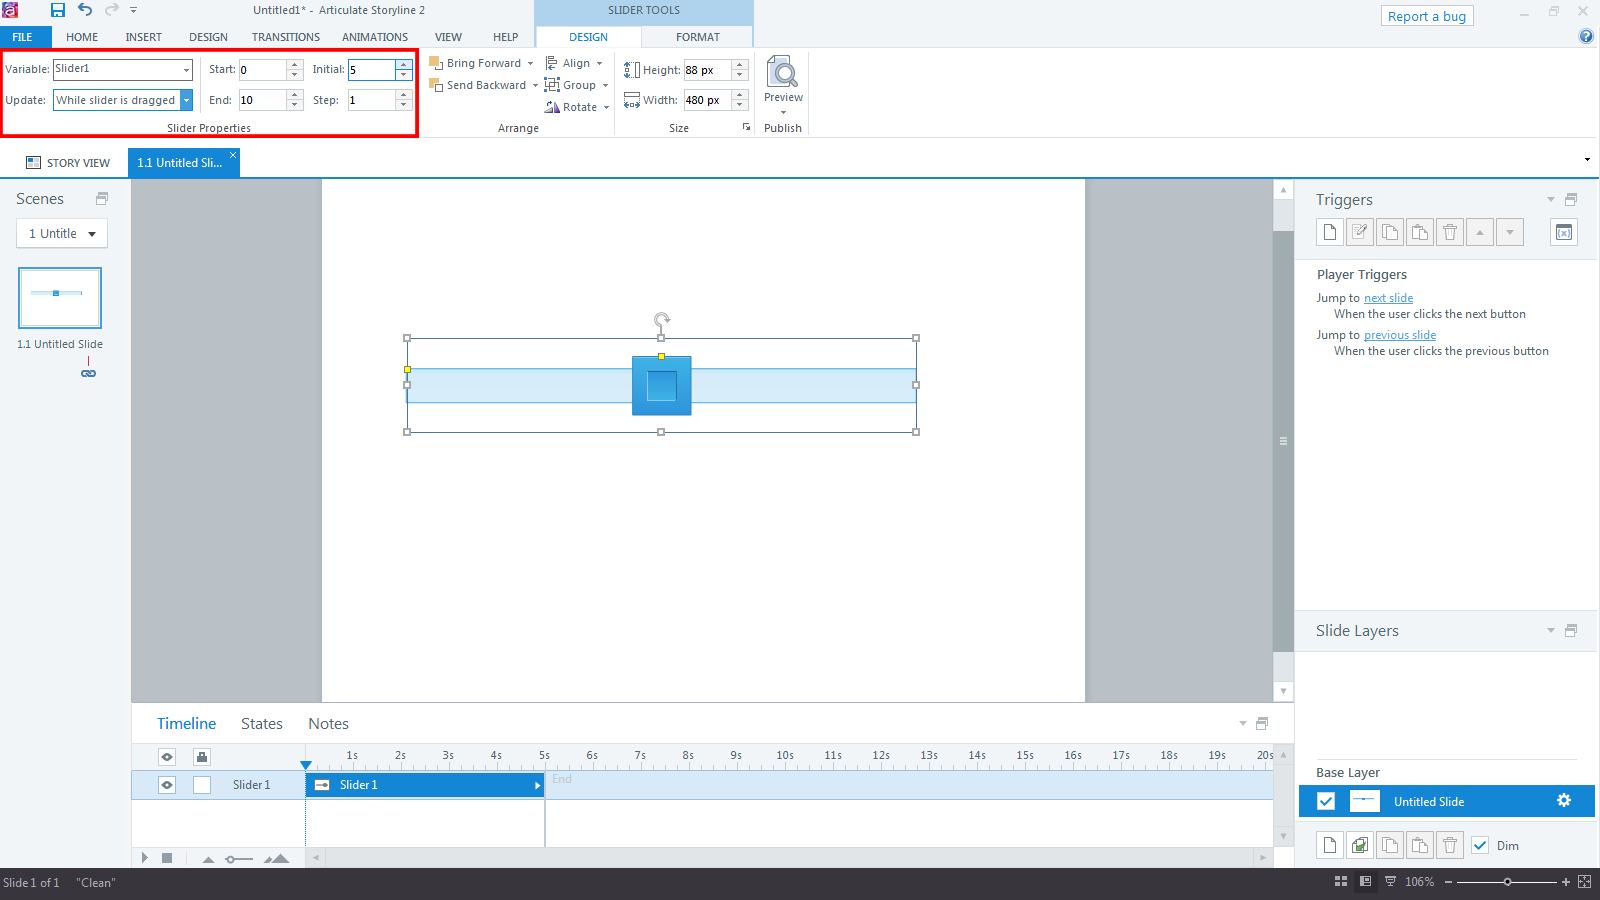
2. Specify slider parameters
To make a slider work, you need to set a few simple parameters, such as the start and end value, the slider’s initial position and the variable that contains the slider value.

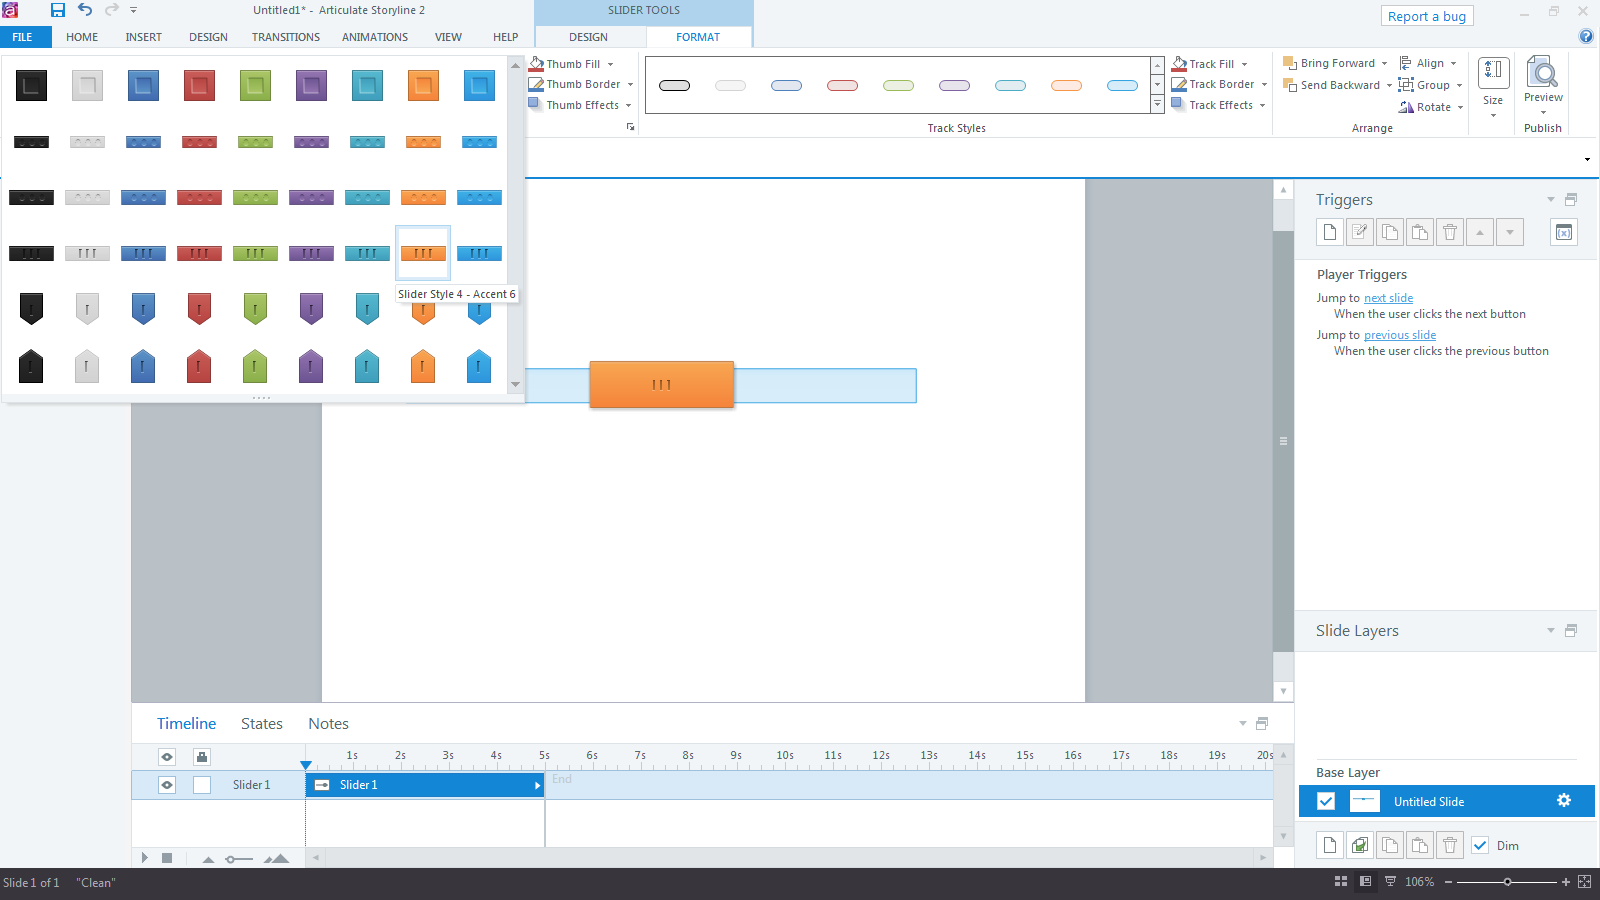
3. Format the slider elements
Now you are ready to format both the slider track (the ‘background’) and the slider thumb. From the Format tab, you can select from predefined styles…

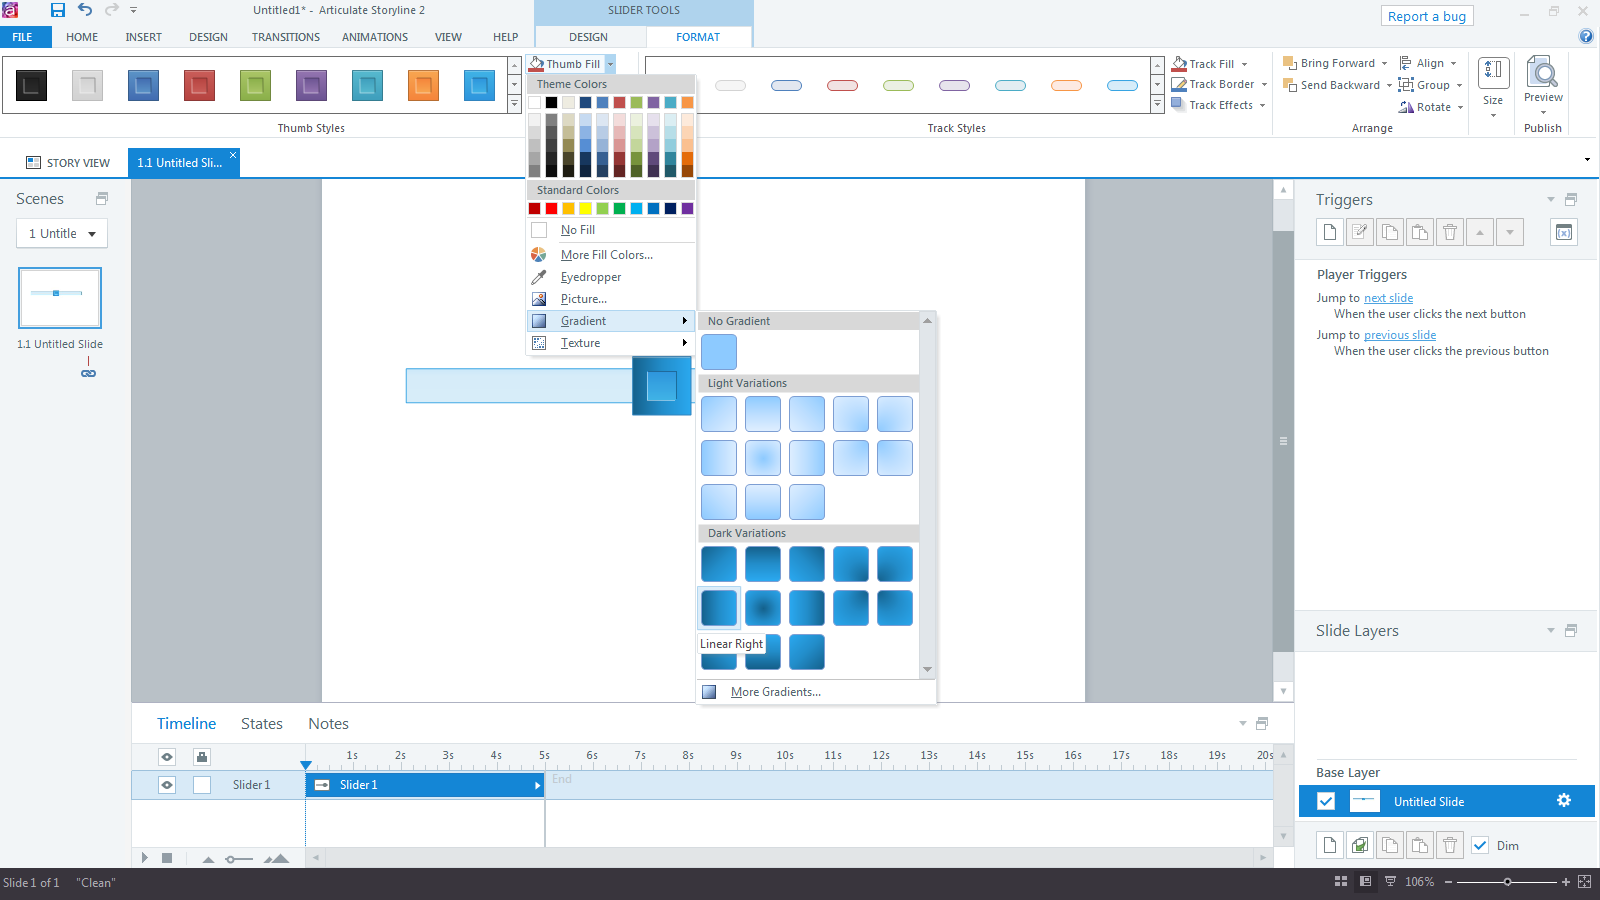
…or completely change the look&feel of the slider by applying gradients, or using images or textures to fill the background and/or thumb.

That’s it, you’re done! You can use the variable that is attached to each slider in triggers and conditions to perform state changes or even ‘move’ other sliders. Here are some examples of slider interactions that I built for testing purposes. I also added some of the new slide transitions that come with Storyline 2. If you want to learn more about slider controls, check out this tutorial. Happy sliding!
Edit 08/10/2014: I thought I translate the slider examples into German. Für die deutschsprachige Version, klicken Sie hier.
