It’s been a long time since I last used a 3D graphics and animation software to produce technical animations. In a ‘previous life’, I used to work with 3D Studio Max and Blender to create 3D graphics and animations for a bunch of datacomm devices. The other day, I was looking for something on my fileserver and happened to come across a 3D model and some old render sequences of one of those projects. I wondered how I could get these into Storyline.
Here are some options I came up with:
- Render a 3D animation as a video and import it into Storyline. The drawback is that I can’t interact with the model at all (it’s a video, duh :-)).
- Export the 3D animation in some virtual reality-type format, like VRML or X3D. The advantage is that I can interact with the model (e.g. rotate around any axis, zoom-in/out). The potential downside is that I may need a special browser plug-in and display the model in a Storyline web object.
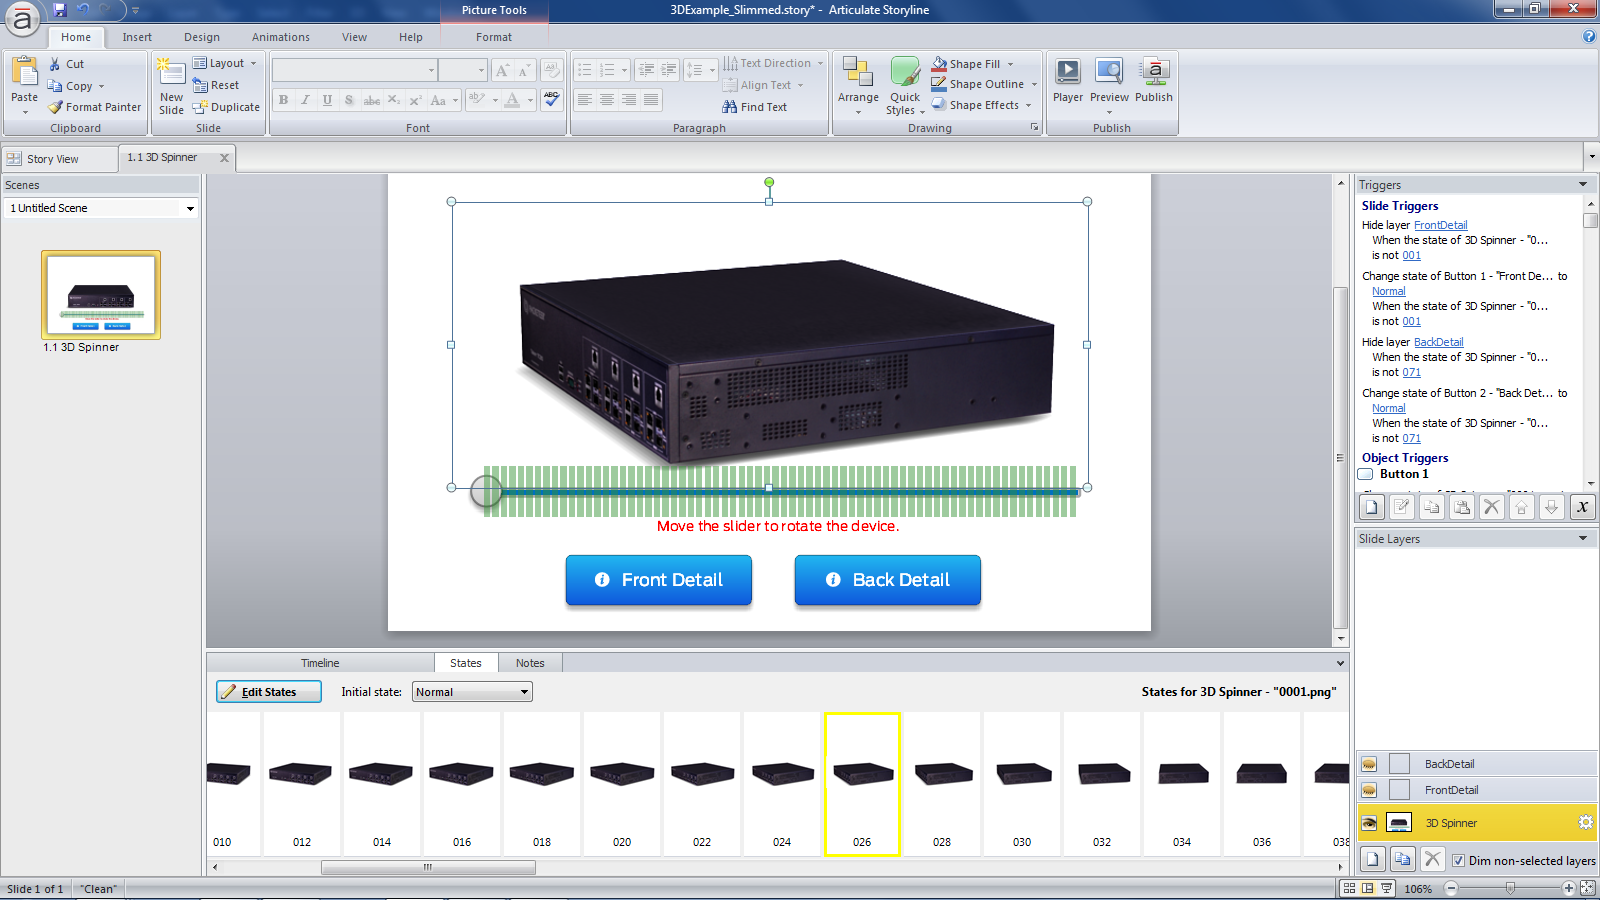
- Render the 3D animation as a series of bitmaps, import them into Storyline and then use custom states and a slider object to interact with the model. The advantage is that I have some control over the interaction, and can rotate it around one axis. Also, I can add more information by showing markers, text captions and zoom-in views at specific points. The downside is that the model cannot be arbitrarily rotated. Also, depending on how many images make up the animation sequence, the project may balloon to an unmanageable size.
With option#1 being a no-brainer, I decided to test out option#3. I started with an image set of 140 ‘frames’ and added these as custom states of the Storyline object.

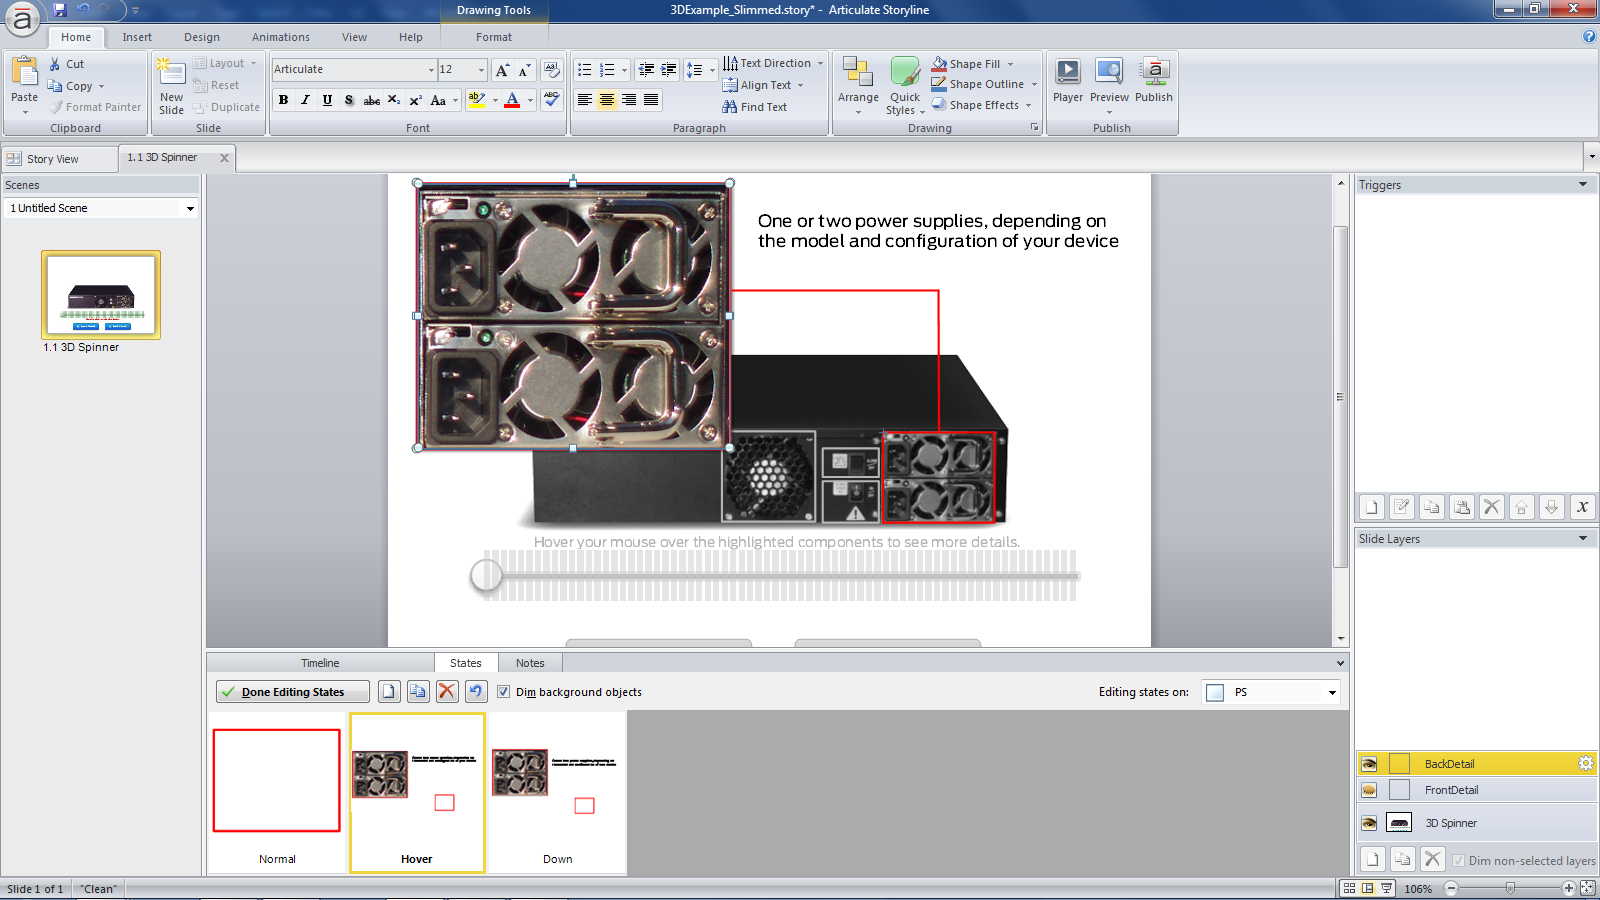
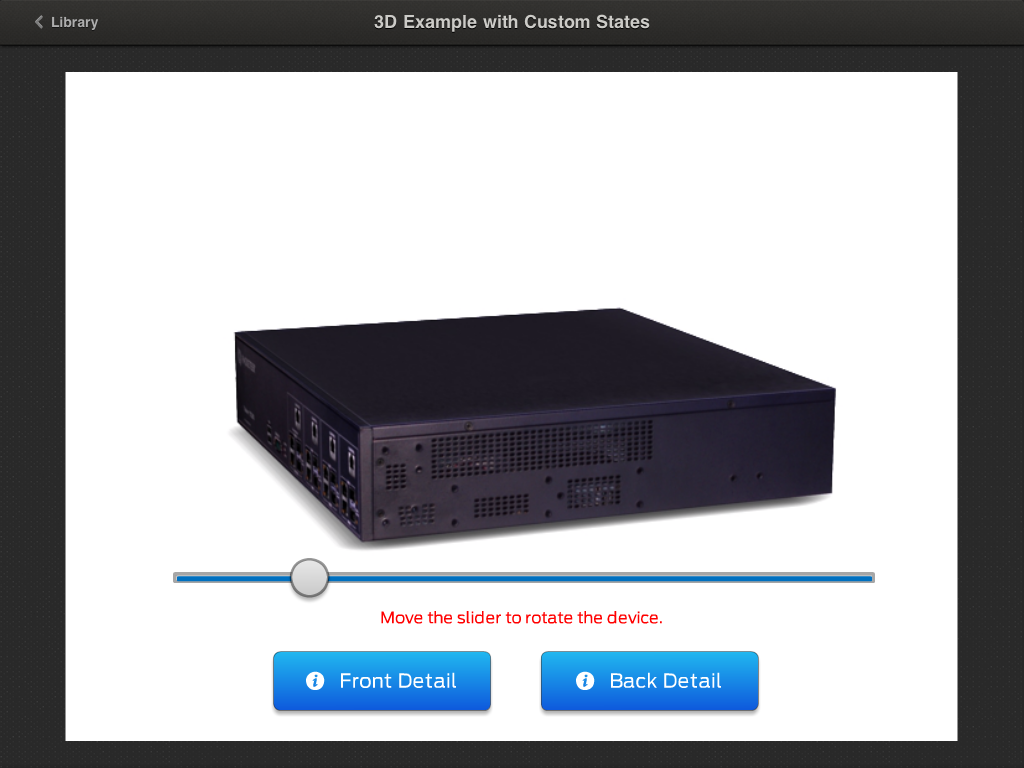
After some experimentation, I decided to reduce the number of ‘frames’ to 70 and added a slider so that the model can be rotated 360 degrees. I also added two shortcut buttons to the front and rear view of the device, to provide hotspots with detailed views of device components.

The rotation is reasonably smooth and since there is no JavaScript involved, this project also works in the Storyline Mobile Player.

The slider’s responsiveness is a bit sluggish in the Mobile Player app, but it does work!
One of these days, I’m going to test out option#2, but for now I have one working method for using 3D in Storyline. Here is the published Flash version of my test file.
Note: I could have reduced the rather long, initial loading time by reducing the number of images and/or changed the image quality in the Storyline publish settings, but wanted to see how the uncompressed sample would work.

This is great! I’ve been playing about with sliders, but how many triggers do you require for 70 images?
Thanks
Gavin
You do need quite a few triggers, depending on how fine-grained your slider scale is. The good news is that they are created for you when you duplicate the slider grad objects. In my example, there are two triggers per slider position: one to change the slider state and another to change the state of the 3D object. I could have added the 3D object images to the slider’s custom states, and reduced the # of triggers by half. But I wanted to see if Storyline would ‘break’ with that many images and triggers…it didn’t!
That’s a good tip about sharing the slider’s state. Storyline triumphant again 🙂
Thanks again for sharing.
Looks great! Are you able to share the Storyline file for this? I’d love to deconstruct it. Primarily how you were able to keep the user from dragging the slider away from the slider bar. How did you accomplish that?
Hi Tim, the slider mechanism I used is based on this thread in the eLearning Heroes community here: http://community.articulate.com/blogs/taylor/archive/2013/09/30/using-a-slider-interaction-to-track-user-responses.aspx. There is not much to it. You are actually not dragging the slider itself, but transparent objects that in turn change the state of the slider.